7. First steps with DFM
After reading our Getting Started with DFM you are now with your DynFi Manager program up and running.
7.1. Accessing your DynFi Manager installation using its IP address
The most straightforward way to access your DynFi Manager software is to directly type the IP address and access it using your favourite browser.
By default, DynFi Manager is deployed on port 9090. This default port can be changed in configuration (refer to configuration chapter).
7.2. Accessing your device using a domain name
Alternatively, you will need to setup your DNS services in order to point your favorite URL to the IP address of your DynFi Manager instance.
- Once setup has been configured, you can simply point your browser to your IP or DNS and you shall be able to access your configured DynFi Manager instance.
Using IP address: https://192.168.10.20:9090/
Using a properly configured DNS: https://my.ip.com:9090/
In either case if you have made the right configuration, you shall end-up on a screen to accept License Agreement, like this one:
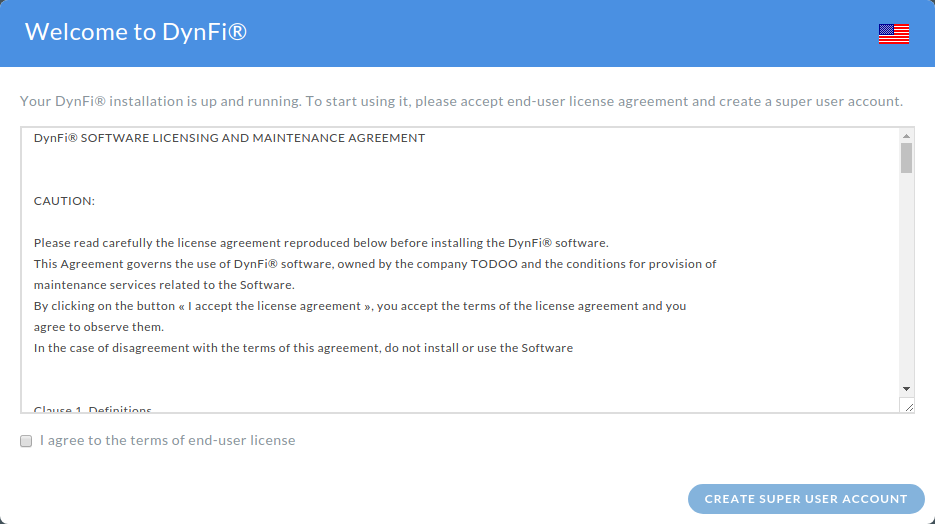
DynFi Manager License Agreement acceptance screen.
Once the License Agreement is accepted, you can create the very first user of your DynFi Manager instance.
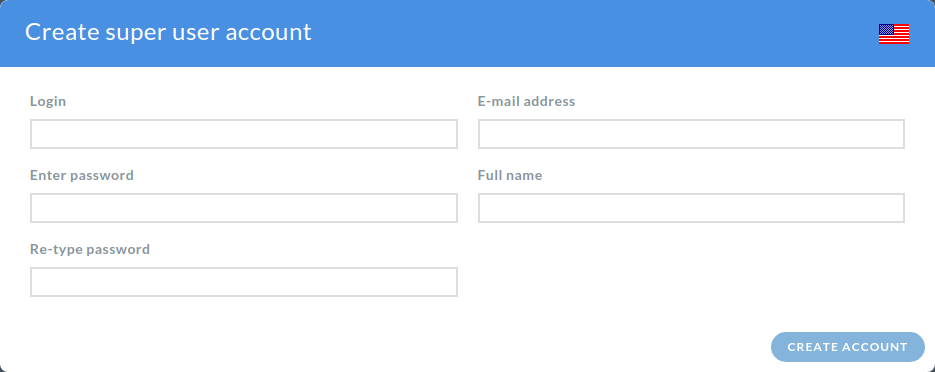
DynFi Manager create superuser screen.
Note
The very first user has unlimited privileges. It is important not to share this account with other users (so this account is used by many people) but to create separate accounts for each real user.
After creating the superuser account, the user is signed in automatically and can perform further initial actions using initial dashboard.
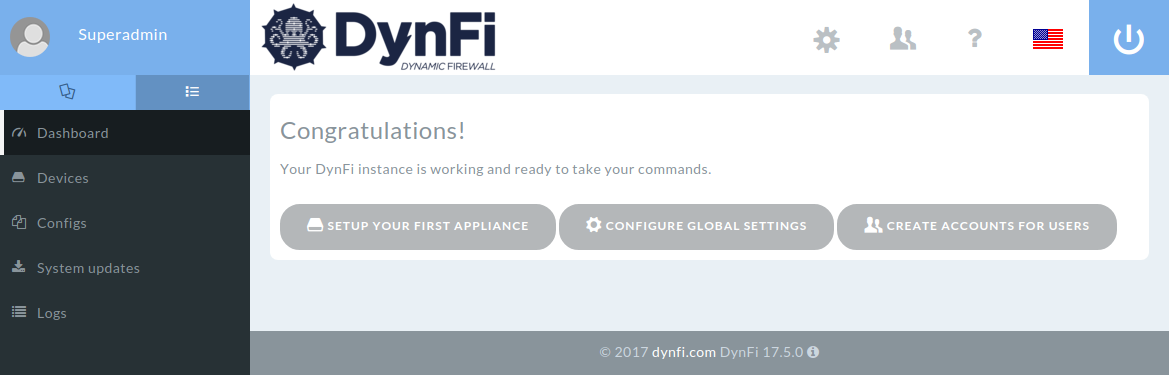
Initial dashboard in DynFi Manager.
Once the first appliance gets connected to DynFi Manager, the dashboard screen will be filled with maps widget and other widgets added by the users.
Next time DynFi Manager will prompt for username and password using the sign in screen.
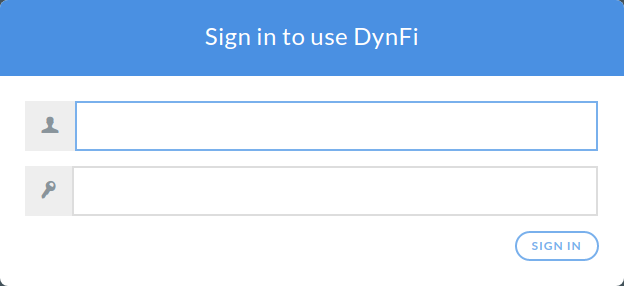
The sign-in screen of DynFi Manager.