5. Running DFM on any OS
This section describes how to install and run DynFi Manager on most OS. This is a detailed installation procedure.
DynFi Manager has two external dependencies. In order to run it:
Java 11+ must be installed on the machine where DynFi Manager will run,
MongoDB 4+ must be available from the machine where DynFi Manager will run (it can be the same machine, or it can be accessed over the network).
You can run DynFi Manager manually (or create your own startup scripts) on any OS as long as it meets dependencies listed above.
Note
We provide more straightforward ways to install DFM described in these sections:
Installing DFM using our script for Linux Ubuntu, Debian, or macOS
Installing DFM on Ubuntu for detailed information on Linux Ubuntu installation
Installing DFM using Docker for a Docker-based installation
To download the latest DynFi Manager’s jar file, go to dynfi.com. This single JAR file contains DynFi Manager’s server and Web User Interface. Except for Java 11+ and MongoDB 4+, nothing else is required to run DynFi Manager using this JAR file.
5.1. Installing Java
To check if Java is installed, run the following command in terminal / command line interface:
java -version
The expected output might look like this (yours may differ slightly):
openjdk version "11.0.25" 2024-10-15
OpenJDK Runtime Environment (build 11.0.25+9-post-Ubuntu-1ubuntu124.04)
OpenJDK 64-Bit Server VM (build 11.0.25+9-post-Ubuntu-1ubuntu124.04, mixed mode, sharing)
If the version reported is below 11 or Java is not installed, you need to upgrade/install it.
If your operating system does not support an automated or tool-based approach for installing Java, you can install the free and open source OpenJDK from Eclipse Adoptium, see https://adoptium.net/.
As with any other tool, please keep Java updated for the latest bug fixes and security upgrades.
5.2. Installing MongoDB
DynFi Manager requires MongoDB version 4 or higher. While version 4.x is the minimum, we recommend using at least version 6.x. DFM has been tested on all MongoDB versions up to 8.0.
To verify the installed version of MongoDB, run:
mongosh --eval "db.version()"
Ensure the output shows at least version 4.x. For example:
8.0.3
If MongoDB is not running on your computer and you cannot access it on other machine(s) in your network you can follow the installation tutorial for your operating system from MongoDB.
5.3. Running DynFi Manager on Windows
Though not recommended, it is possible to run DynFi Manager on Windows. In this example DynFi Manager will connect to a local MongoDB instance.
Install Java 11 (https://adoptium.net/temurin/releases/?os=windows&version=11, choose Windows x64 JRE installer).
Install MongoDB (https://www.mongodb.com/docs/manual/tutorial/install-mongodb-on-windows/)
Download the latest DynFi Manager’s jar file from dynfi.com.
With both Java 11 and MongoDB installed on the machine, DynFi Manager can be started as follows:
java -jar dynfi-version.jar
(Of course, use the actual file name instead of dynfi-version.jar.)
This will start DynFi Manager and bind it to all IP addresses available, especially 127.0.0.1. The output should resemble the image below (after the custom SSL certificate is accepted):
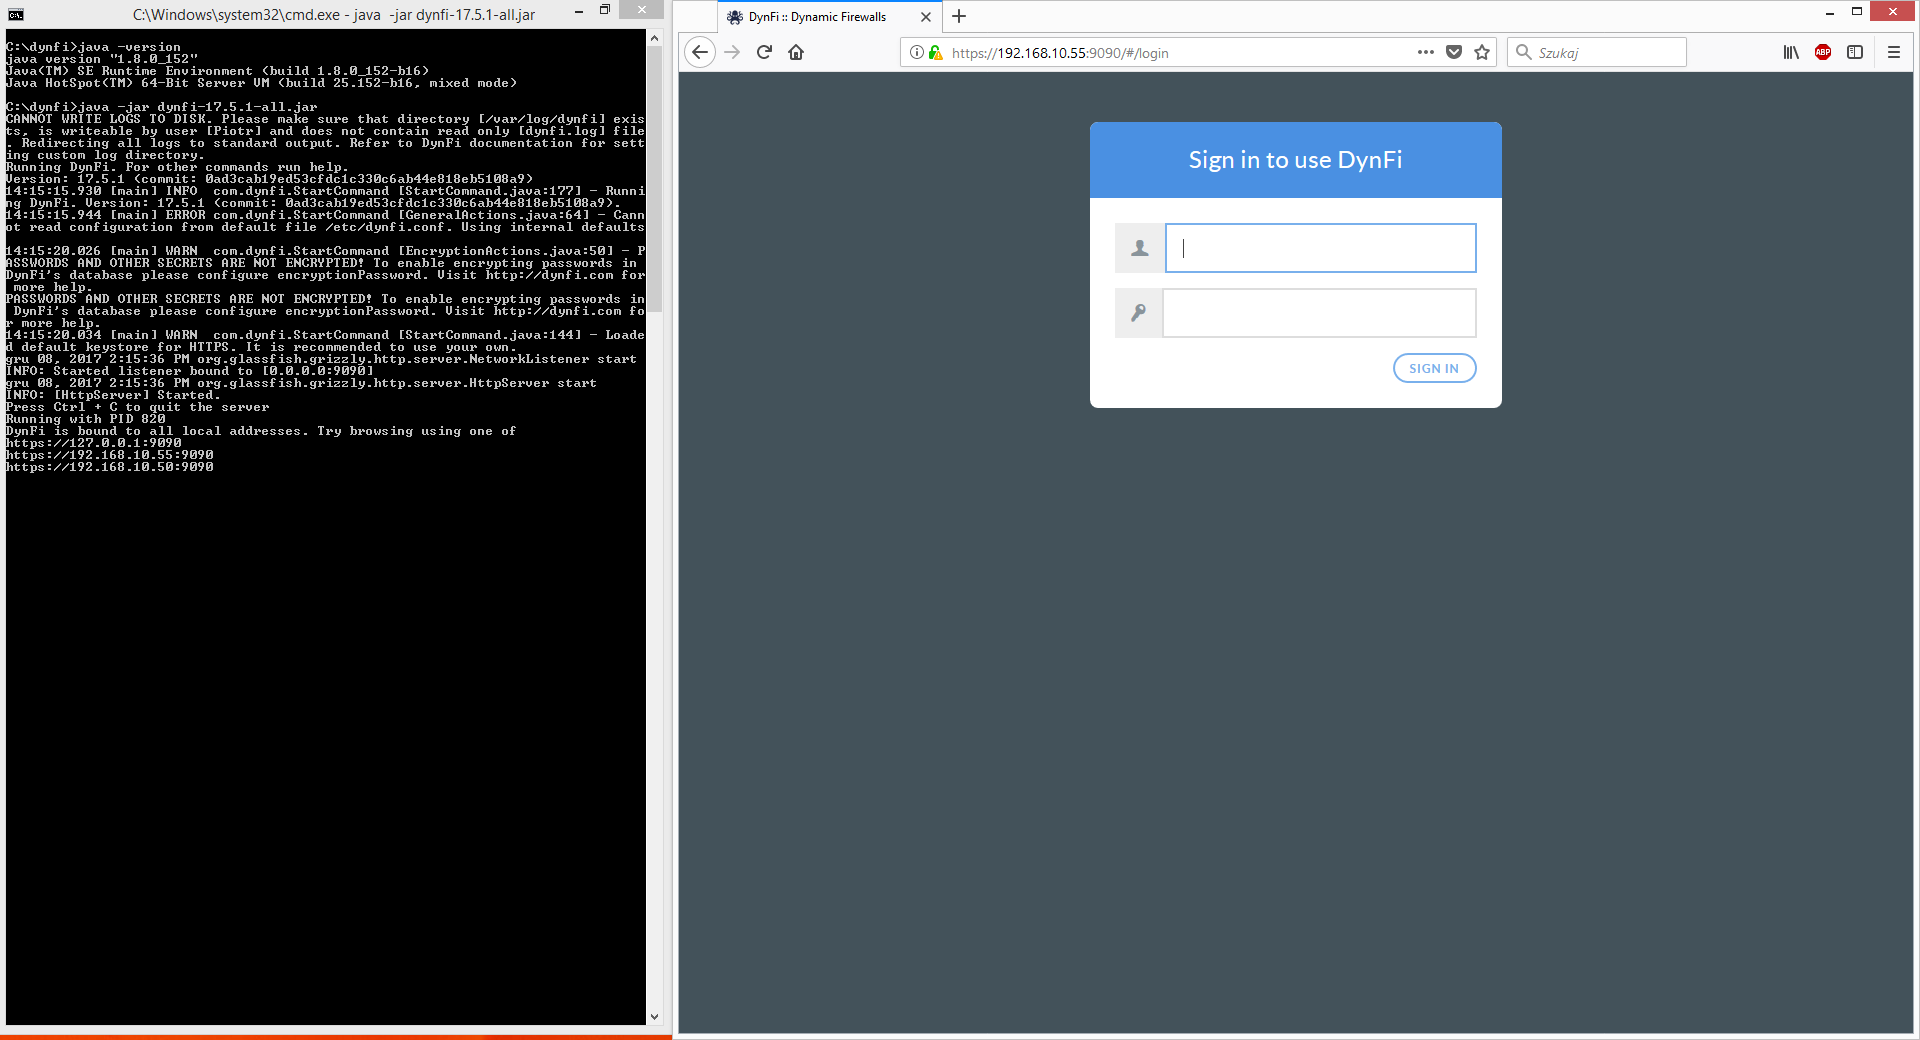
Running DynFi Manager on Windows
As shown on the image, due to the lack of a default log directory, DynFi Manager prints all logs to standard output. This can be easily changed be creating a directory for DynFi Manager to write its logs:
mkdir logs
Before starting DynFi Manager again, you can set an an environment variable to configure it not to use HTTPS:
SET useHttps=false
When starting DFM again, specify the newly created logs directory as the location where DynFi Manager should write
its logs (instead of printing them to the console):
java -DLOG_DIR=logs -jar dynfi-version.jar
This way DynFi Manager’s GUI can be accessed at, for example http://127.0.0.1:9090 from the same machine and instead
of printing logs to the console, it will write them to logs/dynfi.log, as shown below:
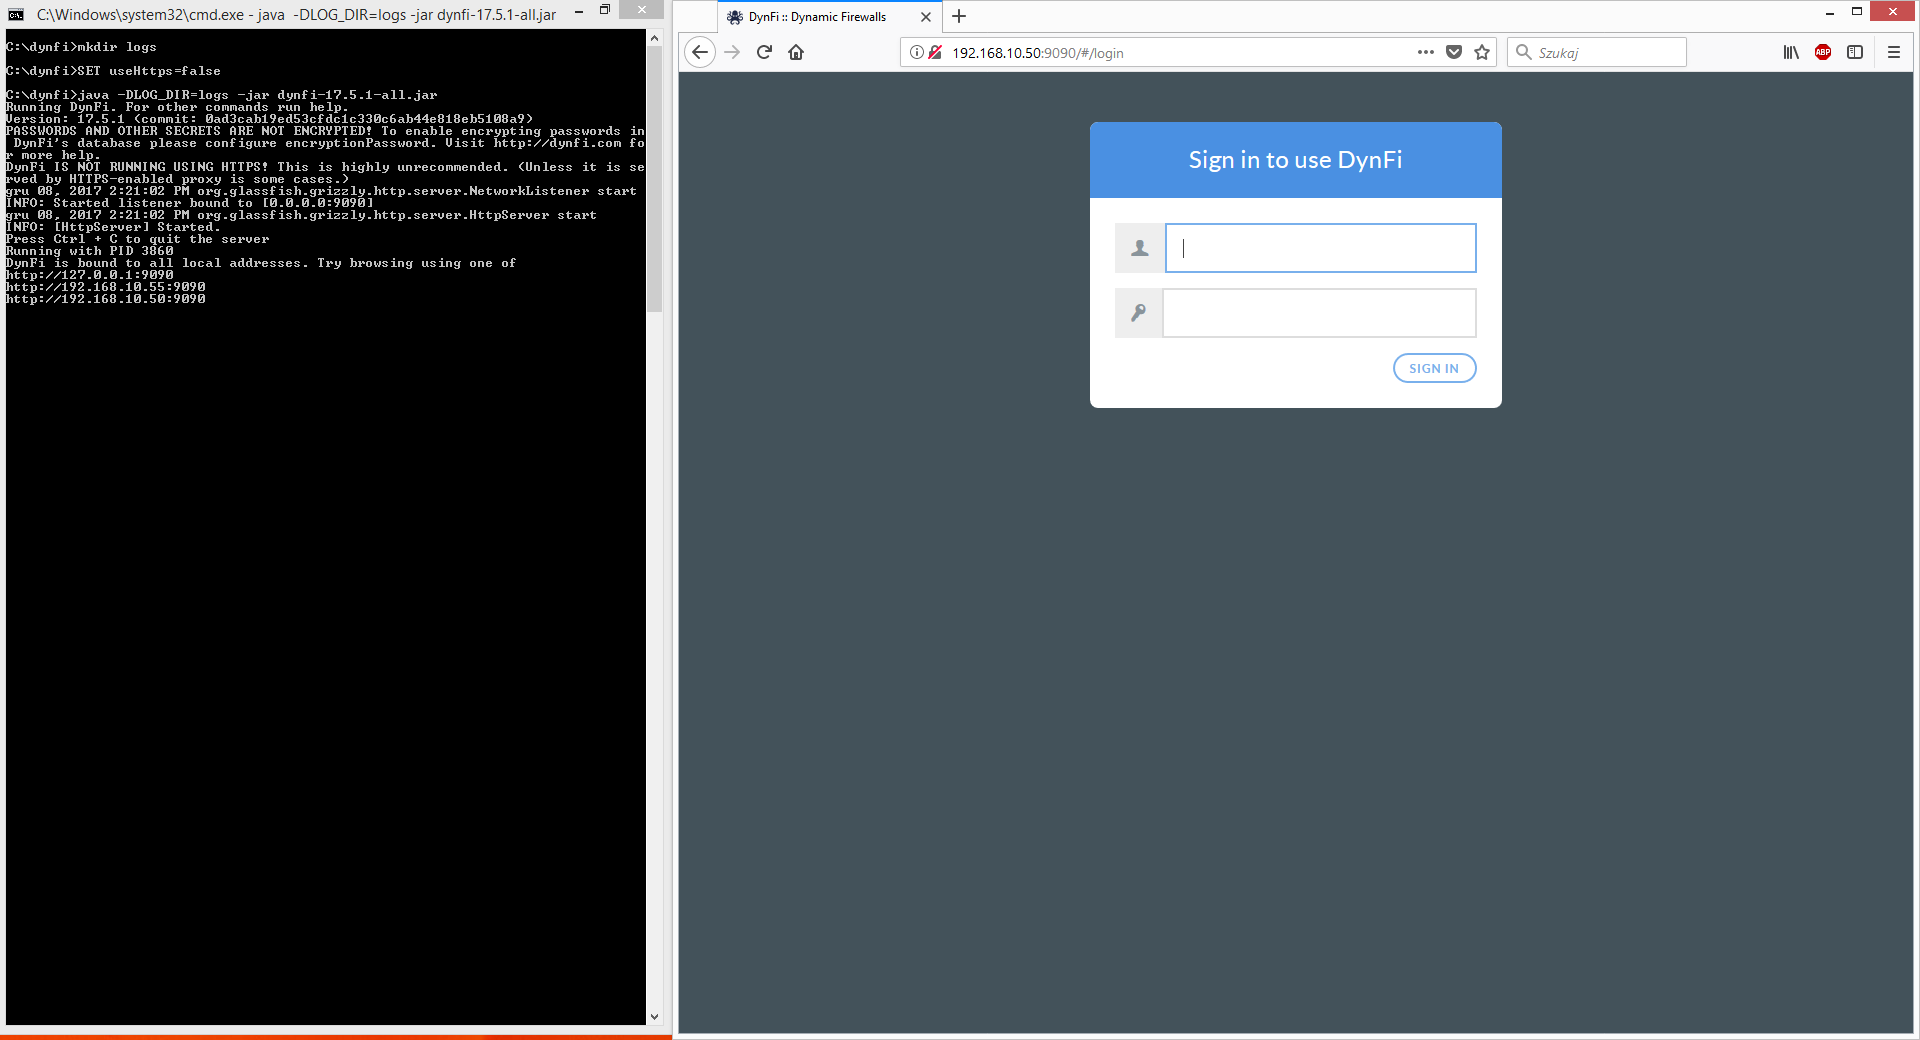
Running DynFi Manager on Windows
To run DynFi Manager with a custom configuration, create a dynfi.conf file (e.g. in c:\dynfi\config\) and use
--config option:
java -DLOG_DIR=logs -jar dynfi-version.jar --config c:\dynfi\config\dynfi.conf
Example of simple dynfi.conf:
ipAndPort=localhost:9090
useHttps=false
mongoClientUri=mongodb://localhost
Of course, various options can be written to the config file, as described in the DFM Configuration chapter. For tuning logs, refer to the DFM Logs chapter.
5.4. Running DynFi Manager on FreeBSD
The following example shows how to quickly run DynFi Manager on FreeBSD 11. In this example DynFi Manager will connect to a remote MongoDB running on host 192.168.10.64.
Download the latest DynFi Manager’s jar file from dynfi.com.
To install Java 11 on FreeBSD, please follow the FreeBSD Documentation. To install OpenJDK11, run the following command in the terminal:
sudo pkg install openjdk11
And follow the procedure.
If MongoDB should be installed locally, you can do so with the following commands:
sudo pkg install mongodb34
sudo echo mongod_enable=\"YES\" >> /etc/rc.conf
sudo service mongod start
With Java 11 installed and the latest dynfi.jar file downloaded to the current directory, DynFi Manager can be started like this (it will connect to MongoDB on localhost):
java -jar dynfi-version.jar
(Of course use the actual file name instead of dynfi-version.jar.)
This will start DynFi Manager and bind it to all IP addresses available, especially 127.0.0.1. The output should resemble the image below (after accepting custom certificate with a security exception).
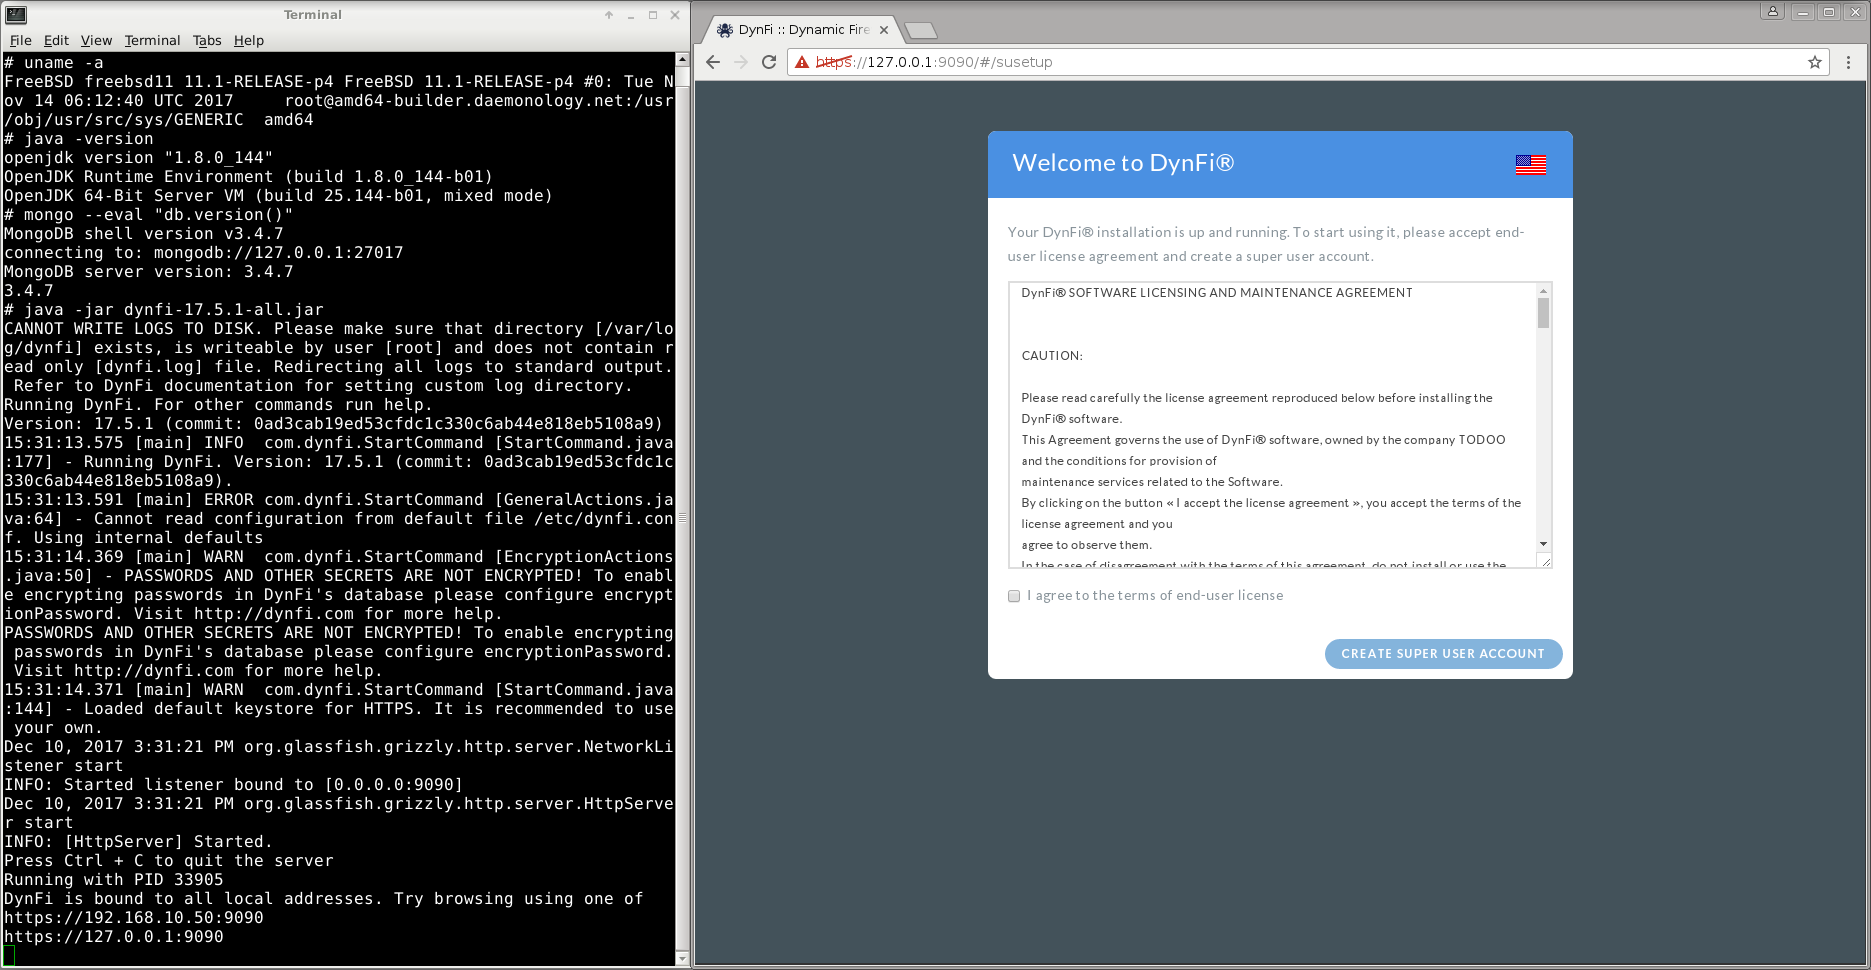
Running DynFi Manager on FreeBSD 11.1 without default log directory
As shown on the image, due to the lack of a default log directory, DynFi Manager prints all logs to standard output. This can be easily changed by creating a default directory for DynFi Manager to write its logs:
mkdir /var/log/dynfi
When starting DFM again, you can specify a precise IP address (e.g., 192.168.10.50) and port (443, the default for HTTPS) DynFi Manager should bind to. This way, DynFi Manager can be started with the following command:
ipAndPort=192.168.10.50:443 java -jar dynfi-version.jar
This will allow DynFi Manager’s Web User Interface to be accessed at https://192.168.10.50 in the browser. Instead of
printing logs to standard output, they will be written to /var/log/dynfi/dynfi.log, as shown below.
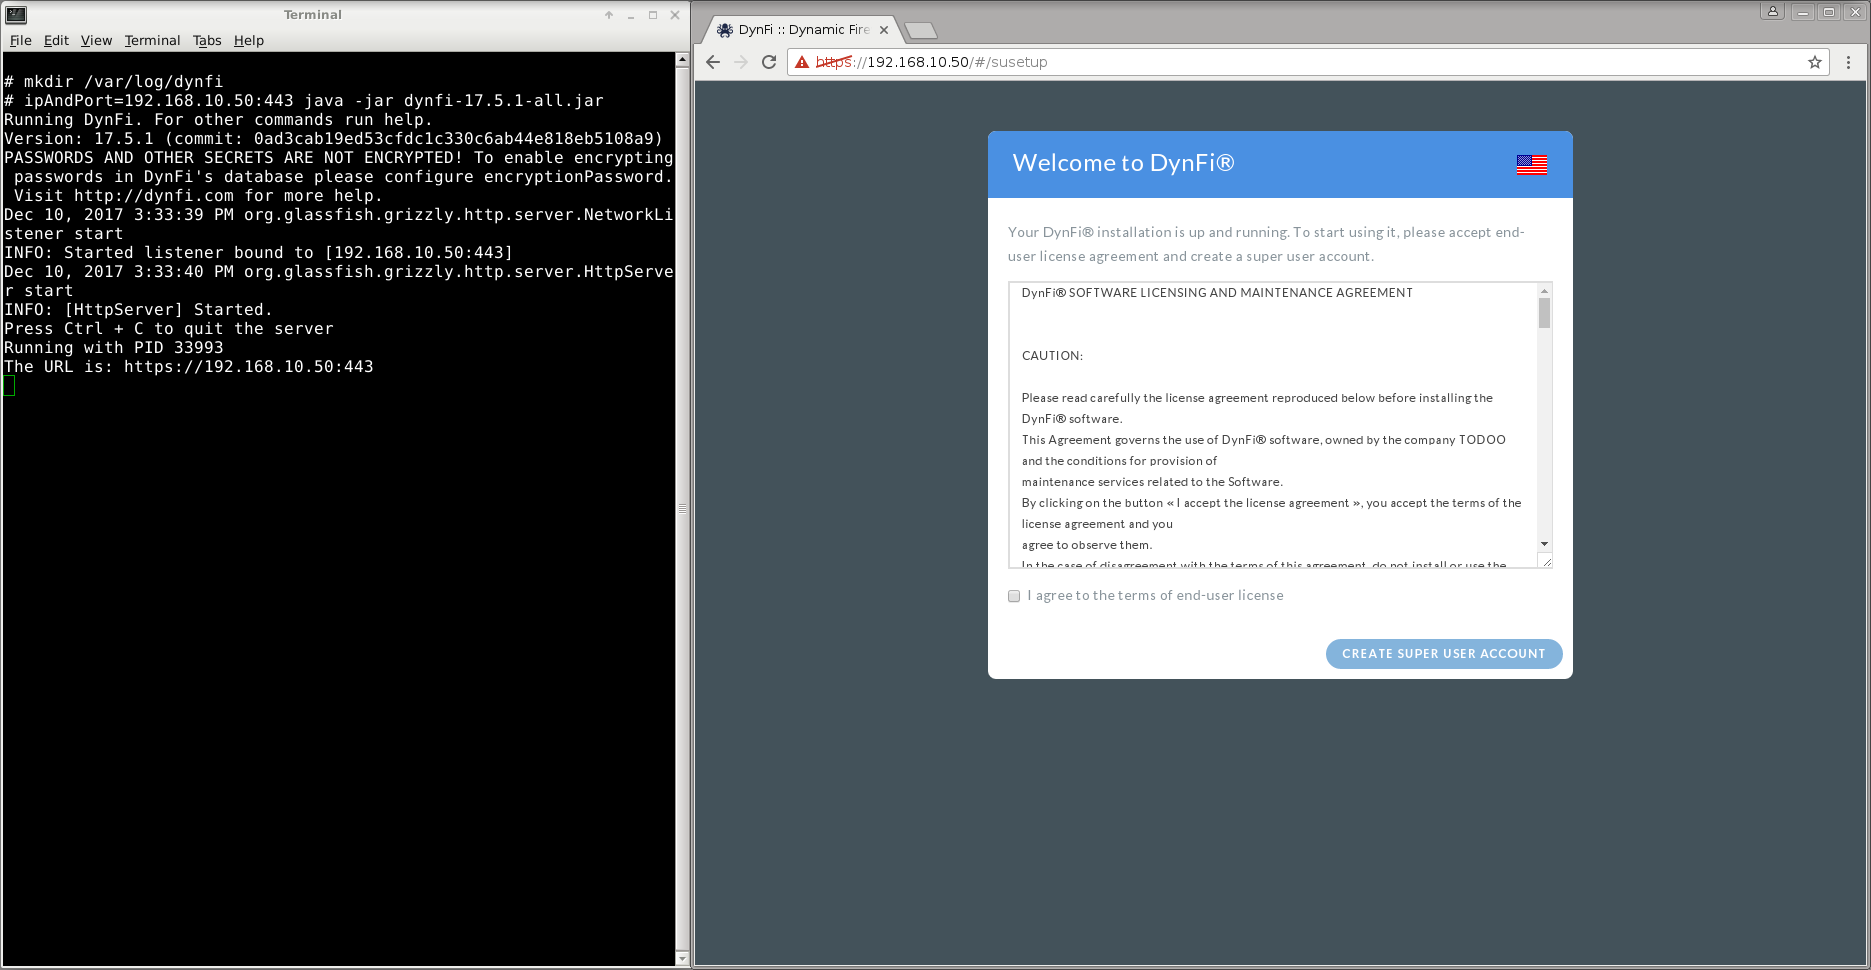
Running DynFi Manager on FreeBSD 11.1 bound to one IP address
If MongoDB is not available on localhost and cannot be installed locally, it must be accessible somewhere on the network.
In this case, you can use mongoClientUri to configure DynFi Manager to connect to a remote MongoDB instance, e.g.:
mongoClientUri=mongodb://192.168.10.64 java -jar dynfi-version.jar
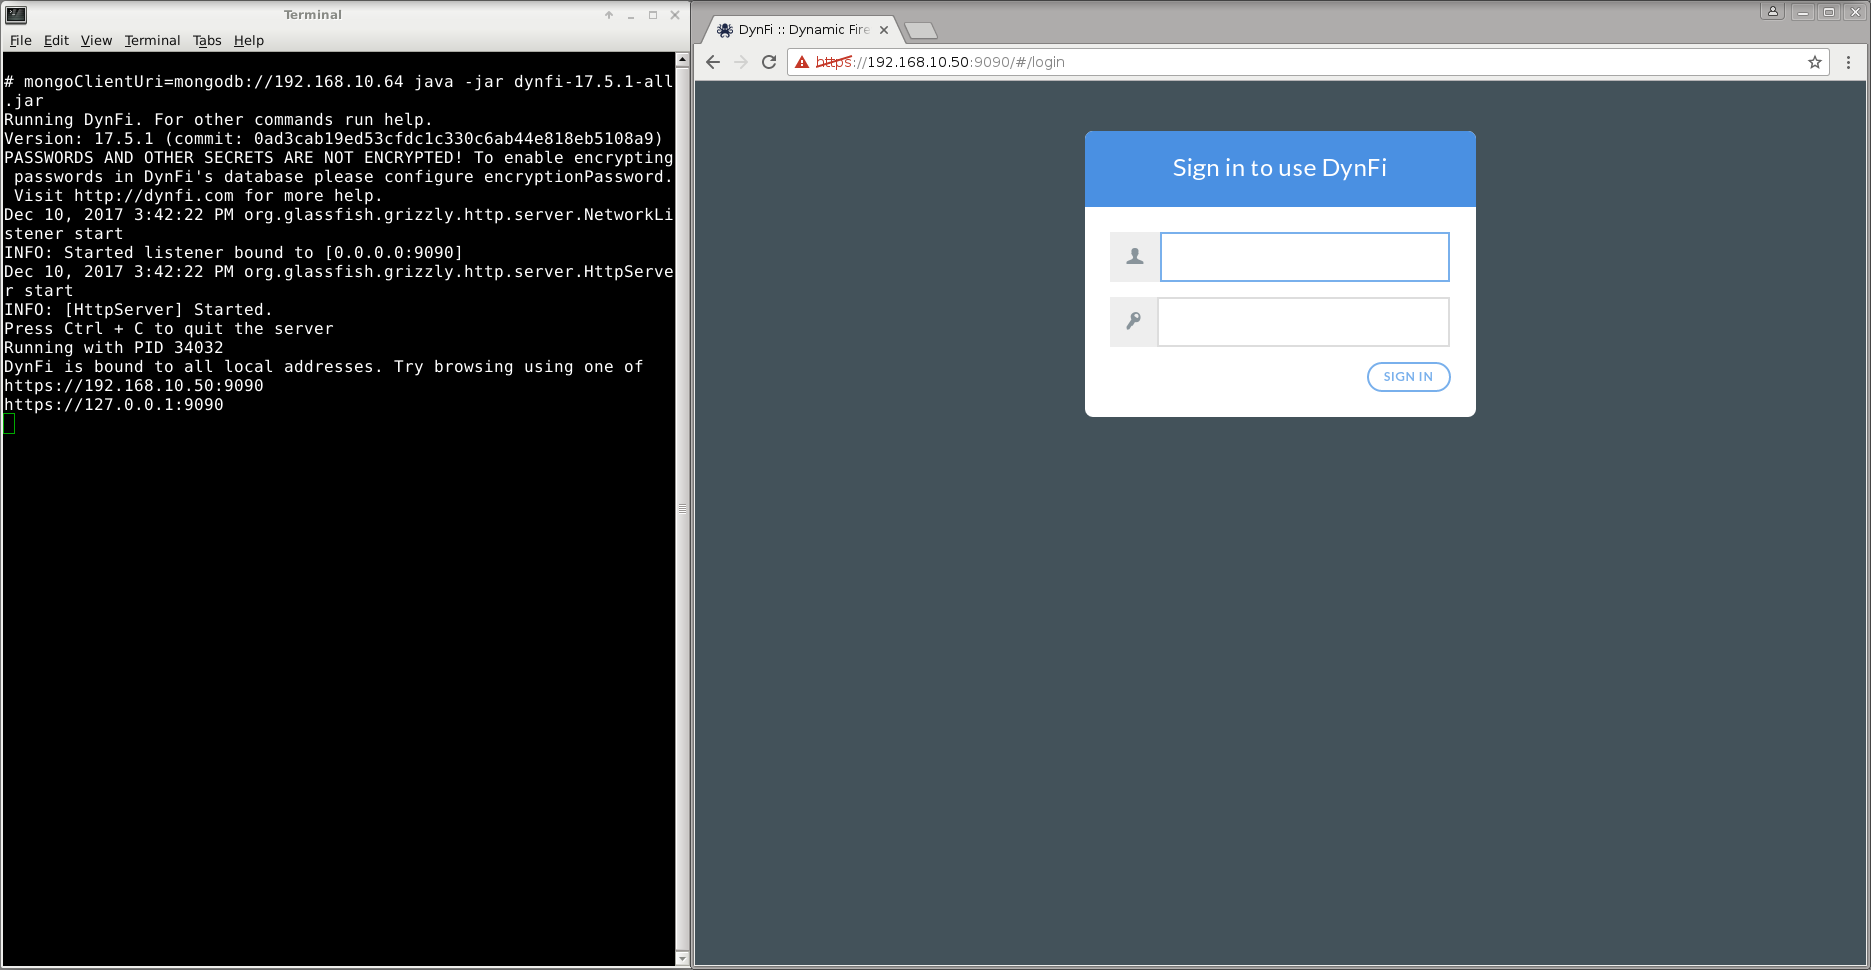
Running DynFi Manager on FreeBSD 11.1 with MongoDB installed remotely
Of course, various options can be written to the config file, as described in the DFM Configuration chapter. For tuning logs, refer to the DFM Logs chapter.
5.5. Upgrading DynFi Manager
If you run DynFi Manager manually using a jar file downloaded from http://dynfi.com, and DynFi Manager displays a message indicating that a new version is available, the upgrade procedure is very simple. All you need to do is download the new file and run it in the same way as before.
Alternatively, it might be easier to use one of the supported distributions, like Debian or Ubuntu. In that case, the upgrade is fully automatic, as described in the Installing DFM on Ubuntu section.